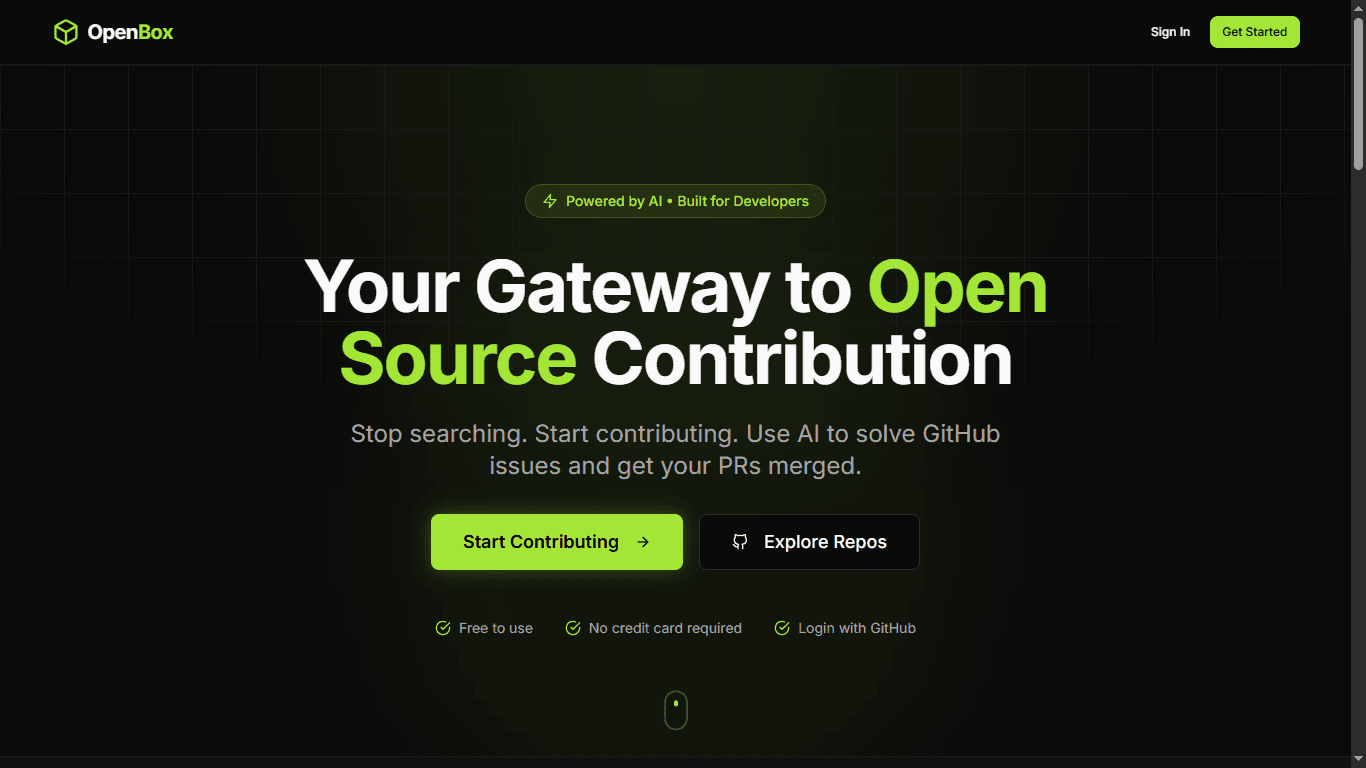
OpenBox
OpenBox is an AI-powered platform designed to help developers find, understand, and contribute to open-source repositories. It leverages Modelence for backend infrastructure, authentication, and AI capabilities to provide a seamless experience for contributors of all levels.
Features
- Repository Analysis: Get instant AI summaries of repositories, including tech stack, target audience, and contribution types.
- Issue Intelligence: Analyze GitHub issues to determine difficulty, estimated time, and required skills.
- Contribution Guides: Generate step-by-step guides for solving specific issues, tailored to your skill level.
- AI Mentor: Chat with an AI assistant specifically context-aware of the repository and issue you are working on.
- User Dashboard: unexpected github contributions and skill analysis.
Prerequisites
- Node.js (v18 or higher)
- npm or yarn
- GitHub Account (for Personal Access Token)
- Modelence Account (for backend & AI services)
Setup Guide
1. Clone the Repository
git clone https://github.com/AtulYadav25/OpenBox.git
cd openbox
2. Setup Modelence
This project uses Modelence for its backend, database, and AI features. You need a Modelence account to run it.
- Create an Account: Go to Modelence and sign up.
- Create a Project:
- Create a new Application in your Modelence dashboard.
- Create a new Environment (
local).
- Connect Local Environment:
- Go to settings in project, run the connection command provided by your Modelence environment settings (
npx modelence@latest setup --token YOUR_TOKEN_PROVIDED). - This will automatically generate/update the
.modelence.envfile with your project credentials.
- Go to settings in project, run the connection command provided by your Modelence environment settings (
3. Configure Environment Variables
You need to add your GitHub Personal Access Token to the .modelence.env file to allow the app to fetch repository data.
- Generate a GitHub Token:
- Go to GitHub Settings -> Developer settings -> Personal access tokens.
- Generate a new token with
public_repo
- Update
.modelence.env:- Open
.modelence.envin your editor. - Add your token:
MODELENCE_GITHUB_TOKEN=your_github_pat_here - Ensure the other
MODELENCE_*variables are populated (this should have happened in Step 2). Your .modelence.env should look like this
- Open
MODELENCE_GITHUB_TOKEN=""
MODELENCE_SITE_URL=""
MODELENCE_CRON_ENABLED=""
MODELENCE_TELEMETRY_ENABLED=""
MODELENCE_ENVIRONMENT_ID=""
MODELENCE_SERVICE_ENDPOINT=""
MODELENCE_SERVICE_TOKEN=""
MODELENCE_CONTAINER_ID=""
4. Install Dependencies
npm install
5. Run the Application
Start the development server:
npm run dev
The application will start (usually at http://localhost:3000).
Tech Stack
- Backend: Modelence (Node.js)
- Frontend: React, Vite, TailwindCSS
- AI: Modelence AI (Gemini Flash)
- Database: Modelence Provided (MongoDB)
- Authentication: Modelence Auth
- Email: Modelence Resend Integration
Deployment
To deploy to production:
npm run build
# Follow Modelence deployment instructions